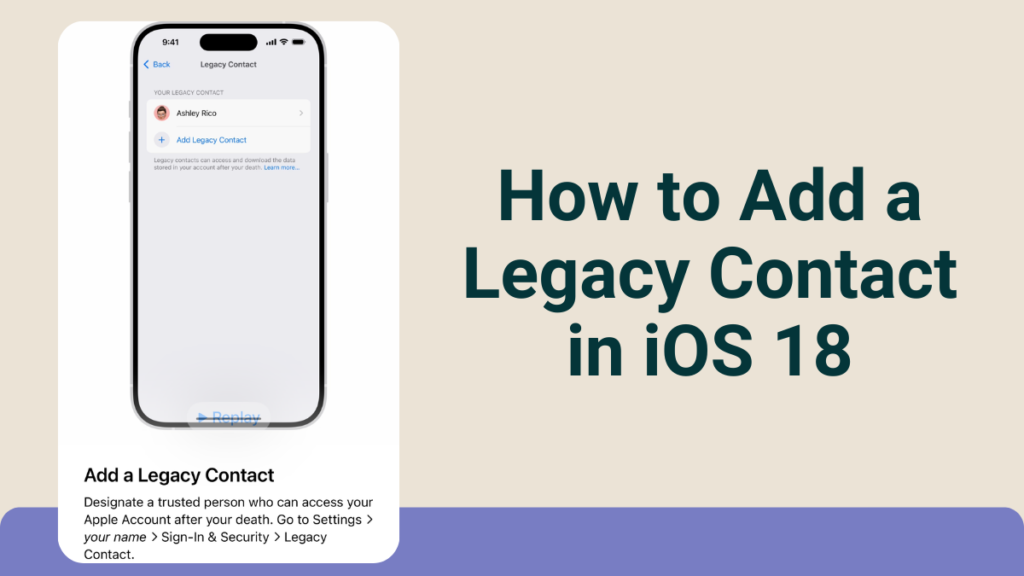
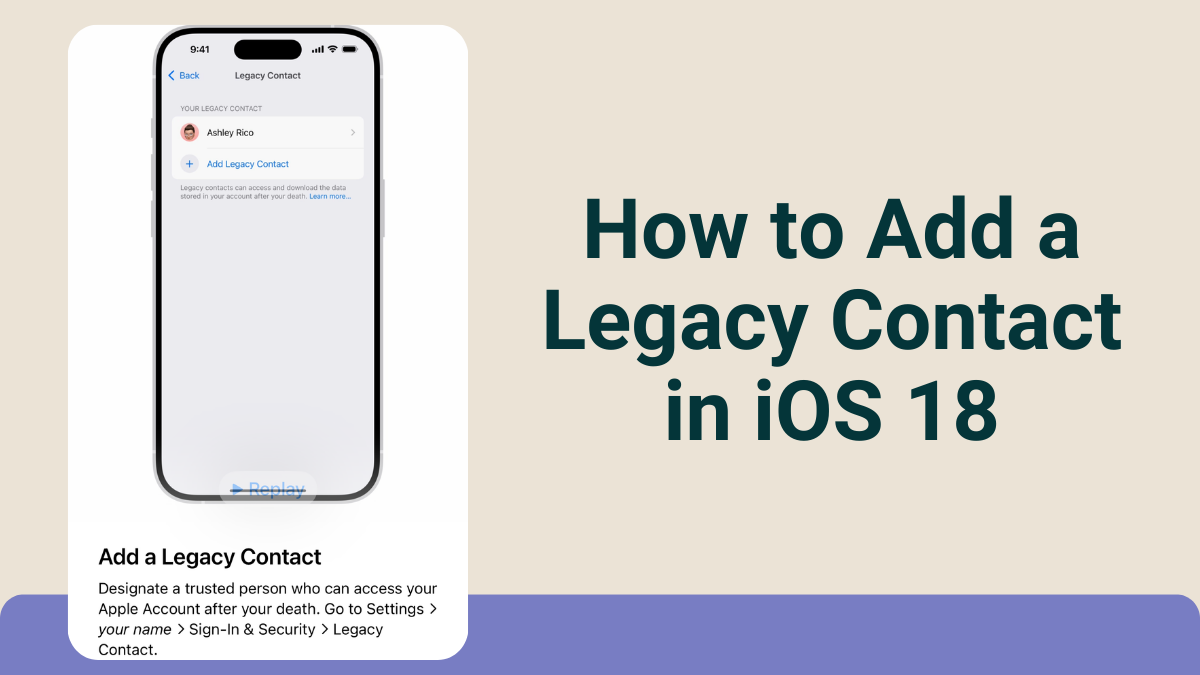
In today’s digital age, our online presence is significant. We store memories, important documents, and personal information on our devices. But what happens to all this data when we are no longer around? Apple has introduced a feature called “Legacy Contact” in iOS 18 to address this concern. This feature allows you to choose someone you trust to access your Apple account and data after you pass away. This article will guide you through the process of adding a Legacy Contact in iOS 18.
What is a Legacy Contact?
A Legacy Contact is a person you choose to have access to your Apple account and data after your death. This includes photos, messages, notes, and other personal information stored in iCloud. The Legacy Contact can manage your data and make decisions about it. This feature ensures that your digital legacy is in the hands of someone you trust.
Detailed Explanation
When you designate a Legacy Contact, you are essentially giving someone the authority to handle your digital affairs. This person will have the ability to access your iCloud account, which contains a vast amount of personal data. This can include cherished photos, important documents, and even your email. By choosing a Legacy Contact, you ensure that your digital life is managed according to your wishes, even after you are no longer able to do so yourself.
Why is it Important?
Choosing a Legacy Contact is important for several reasons:
- Data Management: Your Legacy Contact can manage your data, ensuring that important information is not lost.
- Privacy: You can ensure that only a trusted person has access to your personal information.
- Peace of Mind: Knowing that your digital legacy is taken care of can provide peace of mind for you and your loved ones.
Detailed Explanation
In the event of your passing, your digital assets can become inaccessible if no one has the authority to manage them. This can lead to the loss of valuable information and memories. By appointing a Legacy Contact, you can prevent this from happening. Additionally, this feature allows you to maintain control over who can access your personal information, ensuring that your privacy is respected. Finally, having a Legacy Contact can provide peace of mind, knowing that your digital legacy is in good hands.
Steps to Add a Legacy Contact in iOS 18
Step 1: Update to iOS 18
Before you can add a Legacy Contact, make sure your device is updated to iOS 18. To update your device:
- Go to Settings.
- Tap General.
- Select Software Update.
- If an update is available, tap Download and Install.
Updating to the latest version of iOS is crucial because new features, like the Legacy Contact, are only available in the latest software updates. Keeping your device updated also ensures that you have the latest security patches and improvements, which can protect your data from vulnerabilities.
Step 2: Open Settings
Once your device is updated, open the Settings app on your iPhone or iPad.
The Settings app is the central hub for managing your device’s configurations. It allows you to control various aspects of your iPhone or iPad, including your Apple ID, privacy settings, and security options. Accessing the Settings app is the first step in configuring any new feature on your device.
Step 3: Tap on Your Name
At the top of the Settings menu, you will see your name. Tap on it to access your Apple ID settings.
Tapping on your name in the Settings menu takes you to your Apple ID settings. This section contains all the information related to your Apple account, including your personal details, payment methods, and security settings. It is the gateway to managing your Apple ecosystem.
Step 4: Select Password & Security
In the Apple ID settings, tap on Password & Security. This section contains various security options for your account.
The Password & Security section is where you can manage the security aspects of your Apple ID. This includes changing your password, setting up two-factor authentication, and managing trusted devices. It is also where you will find the option to add a Legacy Contact.
Step 5: Choose Legacy Contact
Scroll down and find the Legacy Contact option. Tap on it to proceed.
The Legacy Contact option is located within the Password & Security settings. This feature is designed to be easily accessible, allowing you to quickly set up a trusted contact who can manage your data after your passing.
Step 6: Add a Legacy Contact
You will see an option to Add Legacy Contact. Tap on it. You may be asked to authenticate using Face ID, Touch ID, or your device passcode.
Adding a Legacy Contact involves a few security steps to ensure that only you can make this important decision. Authentication methods like Face ID, Touch ID, or your device passcode are used to verify your identity before you can proceed.
Step 7: Select a Contact
You can now choose a contact from your list of contacts. Select someone you trust to manage your data. You can also add a message to explain why you chose them.
Selecting a contact from your list ensures that you choose someone you already know and trust. Adding a personal message can help explain your decision and provide guidance to your Legacy Contact on how you would like your data to be managed.
Step 8: Share Access Key
After selecting a contact, you will receive an Access Key. This key is essential for your Legacy Contact to access your data. You can share this key with your contact via Messages, email, or by printing it out.
The Access Key is a crucial component of the Legacy Contact feature. It acts as a secure way for your chosen contact to access your data. Sharing this key ensures that your Legacy Contact has the necessary information to manage your digital legacy.
Step 9: Confirm Your Choice
Review the information and confirm your choice. Your Legacy Contact will now have access to your data after you pass away.
Confirming your choice is the final step in the process. It ensures that all the information is correct and that your Legacy Contact is set up properly. This step provides a final review to make sure everything is in order.
Managing Your Legacy Contact
Viewing Your Legacy Contact
You can view your Legacy Contact at any time by going to Settings > Your Name > Password & Security > Legacy Contact.
Detailed Explanation
Being able to view your Legacy Contact at any time allows you to keep track of who has access to your data. This feature provides transparency and ensures that you can make changes if necessary.

Removing a Legacy Contact
If you change your mind, you can remove a Legacy Contact. To do this:
- Go to Settings.
- Tap on Your Name.
- Select Password & Security.
- Tap on Legacy Contact.
- Select the contact you want to remove and tap Remove Contact.
Removing a Legacy Contact is a straightforward process. It ensures that you have full control over who can access your data. This flexibility allows you to make changes as your circumstances or preferences evolve.
Adding Multiple Legacy Contacts
You can add more than one Legacy Contact. This can be useful if you want to ensure that multiple trusted individuals have access to your data. Adding multiple Legacy Contacts provides an additional layer of security and assurance. It ensures that if one contact is unavailable, another trusted person can still manage your data. This feature is particularly useful for those who want to distribute responsibilities among several trusted individuals.
FAQs: Legacy Contacts in iOS 18
1. What happens if I don’t add a Legacy Contact?
If you don’t add a Legacy Contact, your data may be inaccessible after your death. This can lead to the loss of important information and memories.
Without a Legacy Contact, your digital assets may remain locked and inaccessible. This can be problematic for your loved ones who may need access to important documents or cherished memories. Adding a Legacy Contact ensures that your data is not lost and can be managed according to your wishes.
2. Can I change my Legacy Contact later?
Yes, you can change your Legacy Contact at any time. Simply follow the steps to remove the current contact and add a new one.
The ability to change your Legacy Contact provides flexibility and control. As your relationships and circumstances change, you can update your Legacy Contact to reflect your current preferences. This ensures that your digital legacy is always managed by someone you trust.
3. Is the Access Key secure?
Yes, the Access Key is secure. It is essential for your Legacy Contact to access your data. Make sure to share it only with trusted individuals.
The Access Key is designed with security in mind. It ensures that only your chosen Legacy Contact can access your data. By sharing this key only with trusted individuals, you can maintain the security and privacy of your digital assets.
4. Can my Legacy Contact access all my data?
Your Legacy Contact can access most of your data, including photos, messages, and notes. However, some data, like payment information, may not be accessible.
While your Legacy Contact can access a wide range of your data, certain sensitive information, such as payment details, may remain protected. This ensures that your financial information is not compromised, while still allowing your Legacy Contact to manage other important aspects of your digital legacy.
5. Do I need to inform my Legacy Contact?
It is a good idea to inform your Legacy Contact about their role. This ensures they are aware and can take action when needed.
Informing your Legacy Contact about their role is crucial. It ensures that they are prepared and understand their responsibilities.
Important: The information provided here in the post is for general informational purposes only. It should not be taken as professional or any other type of advice. Always seek the advice of a qualified professional before implementing this information on your own. Thank you!
Add Blogzwave To Your Google News Feed


